Follow along this post to see how to install Magma in a virtual environment on Ubuntu 20.04 and set up a basic LTE connection.
Note 1: The Magma gateway cannot be set upon Apple computers with the M1 chip. Using Rosetta or even double virtualization will not do the trick. On MacOS, the installation of most prerequisites can be done relatively easily, especially with the help of brew. While brew can be set up for Ubuntu, a more roundabout approach will be taken here.
Note 2: When choosing a host machine, ensure that it has enough RAM and memory. Insufficient RAM will lead to errors such as the host closing the connection to the gateway VM when building the gateway.
Installing the prerequisites
Docker
- Remove any existing installation of docker on system using the commands given in this guide on uninstalling docker engine and this guide on uninstalling old docker versions.
- Install docker engine using the instructions in this guide on installing docker using the repository.
- If you are unable to run docker using
sudo docker run hello-worlddue to an inability to connect to the Docker daemon, then try running (based on the instructions in this Stack Overflow post on connecting to docker ):
systemctl start docker
- To stop having to use
sudobefore all docker commands, follow the instructions in this guide on post-installation steps for Docker on Linux. The link outlines steps to create a new Unix group that can run the docker command withoutsudoand add users to it.
Installing docker compose
- Install docker compose version 1.29.2 using the instructions in this guide on installing Docker Compose.
- Setup command completion using the steps described in this guide on Command-line completion.
Setting up Virtualbox
- Install Virtualbox from the Downloads page. Use this blog post on installing VirtualBox from Oracle’s repositories and this similar post for reference.
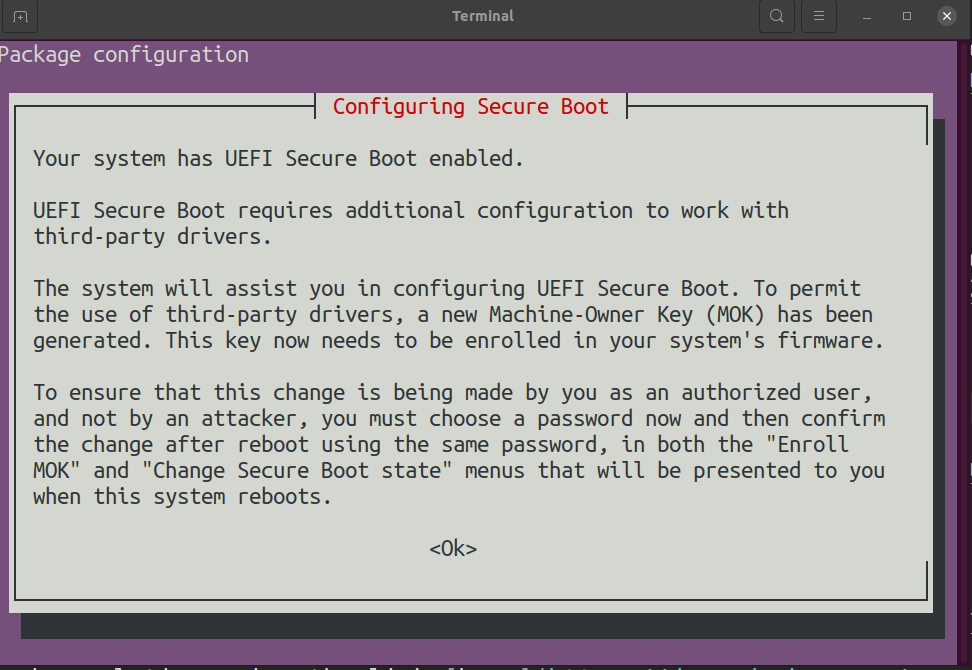
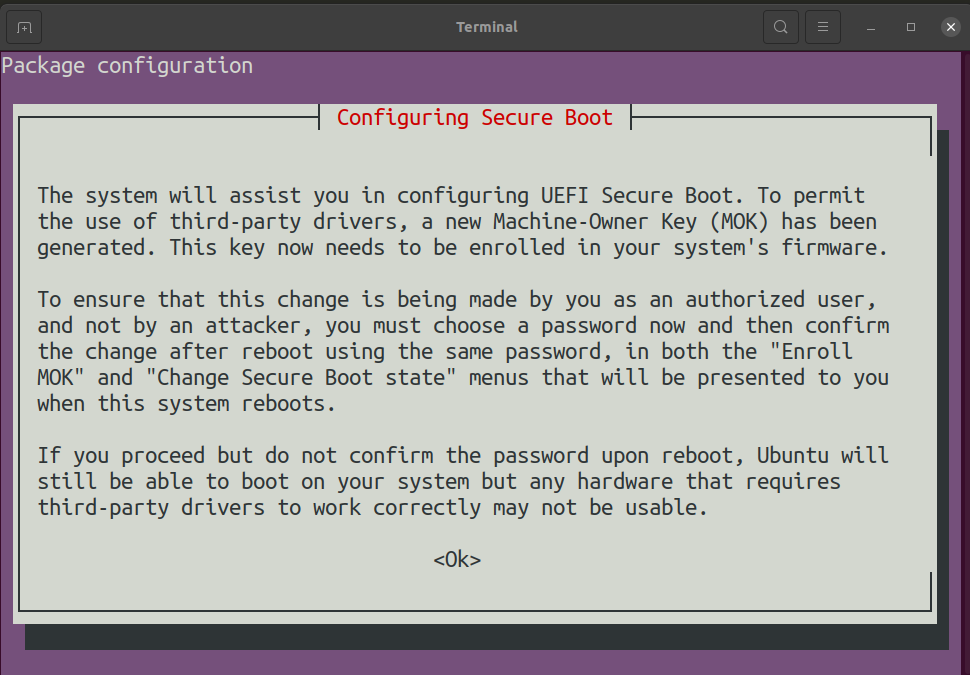
- During the installation, you will run into the following message
- Click on
<Ok>and create a new passphrase. - To finish setting up Virtualbox, you need to complete two more steps
- Restarting the system will take you to a screen asking for the passphrase generated above. Suppy this and the start the system.
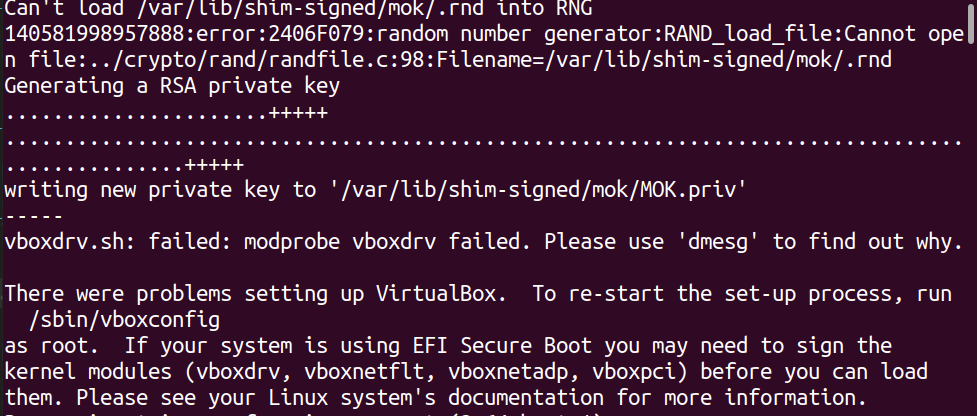
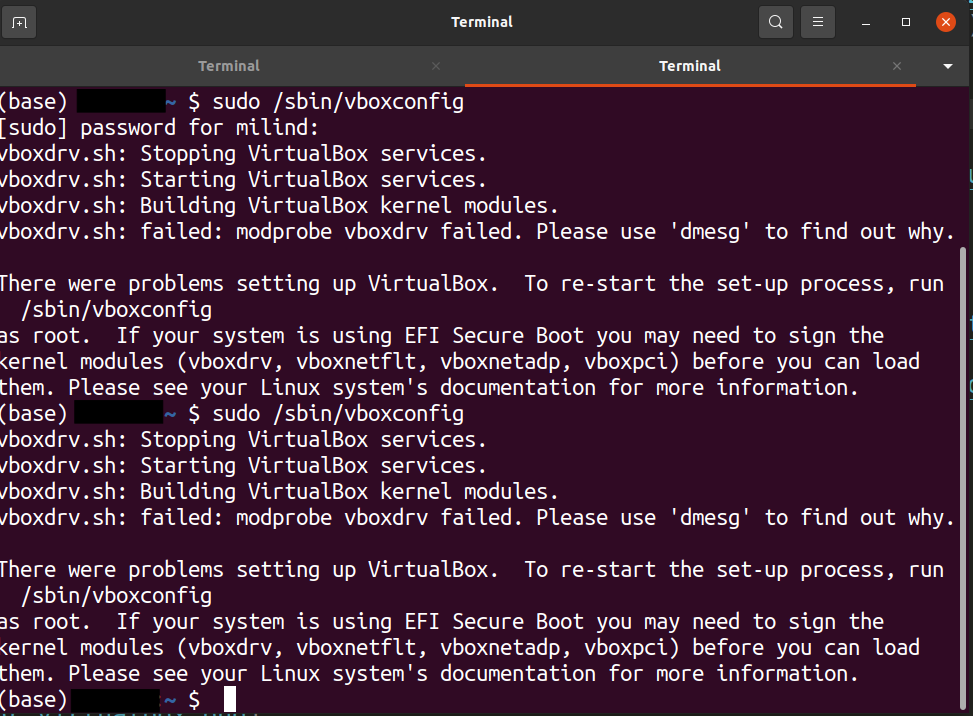
- If errors such as the following are produced, you will also have to log into the BIOS and disable secure boot.
Installing Vagrant
Vagrant helps manage virtual machines and allows users to interact with them in a uniform way across systems.
- Install vagrant following the instructions in the documentation on installation and the downloads page using the following commands
curl -fsSL https://apt.releases.hashicorp.com/gpg | sudo apt-key add -

sudo apt-add-repository "deb [arch=amd64] https://apt.releases.hashicorp.com $(lsb_release -cs) main"

sudo apt-get update && sudo apt-get install vagrant
Setting up Go
The command given in the Magma prerequisites page indicates that Go 1.13 is necessary.
- Obtain the compressed file from the archived versions from the Go downloads page.
- Run
sudo rm -rf /usr/local/go && sudo tar -C /usr/local -xzf go1.13.15.linuxamd64.tar.gz - Add Go to the path in
~/.profileas below
export PATH=$PATH:/usr/local/go/bin
The Magma prerequisites page asks for the path to added to ~/.bash_profile instead of ~/.bashrc. Look at this medium post and this Stack Exchange question for the difference between ~/.bash_profile, ~/.bashrc and ~/.profile.
- To check the correctness of the Go installation run
source ~/.profile
go version
The output should be similar to that below
go version go1.13.15 linux/amd64
- This will however not apply to any new terminals you create as the change is not in
~/.bashrc. Therefore, restart the system (interchangeably used with host from now on) for this change to take hold.
Setting up Python 3.7.3
The Magma prerequisites page recommends that pyenv be installed to set up Python 3.7.3. However, we will use conda in this setup instead as we were unable to proceed with the following steps using pyenv on Ubuntu 20.04. A global installation of Python 3.7.3 is not recommended as discussed in this post on Python best practices.
- Miniconda can be installed following the instructions on the conda installation page.
- Set
conda config --set auto_activate_base false
to prevent the base environment from activating by default when a terminal starts.
- Created a conda environment named
magma_pythonwith Python 3.7.3 and pip 21.2.2. Refer to this conda cheat sheet for conda commands. - Activate the environment using
conda activate magma_python
- Install the remaining libraries in this environment as given in the prerequisites page.
vagrant-vbguest
Install as in the prerequisites page.
Magma
Magma can be cloned from the repository on the official GitHub page.
Prerequisites for deployment
- Set up aws-iam-authenticator using the instructions in the official documentation for aws-iam authenticator
- Install kubectl using apt from the official documentation on kubectl installation
- Install helm using apt using the steps in the official documentation on installing Helm
- Set up terraform using the instructions in the official documentation on installing Terraform
Running the quick start guide
- Open two terminal tabs as directed in the Quick Start Guide (called guide from here on).
- Activate the conda environment created previously in each terminal
conda activate magma_python
- Check out the branch you want to use. If you want to use, say, v1.6, you would navigate to the magma git repository and do
git checkout v1.6
- Provision the AGW VM as directed in the guide using one of the terminals.
- As the Magma Quick Start Guide mentions, the development VMs are in the 192.168.60.0/24, 192.168.128.0/24 and 192.168.129.0/24 address spaces. These need to be made allowed ranges. If not,
vagrant up magmawill terminate with an error similar to the one below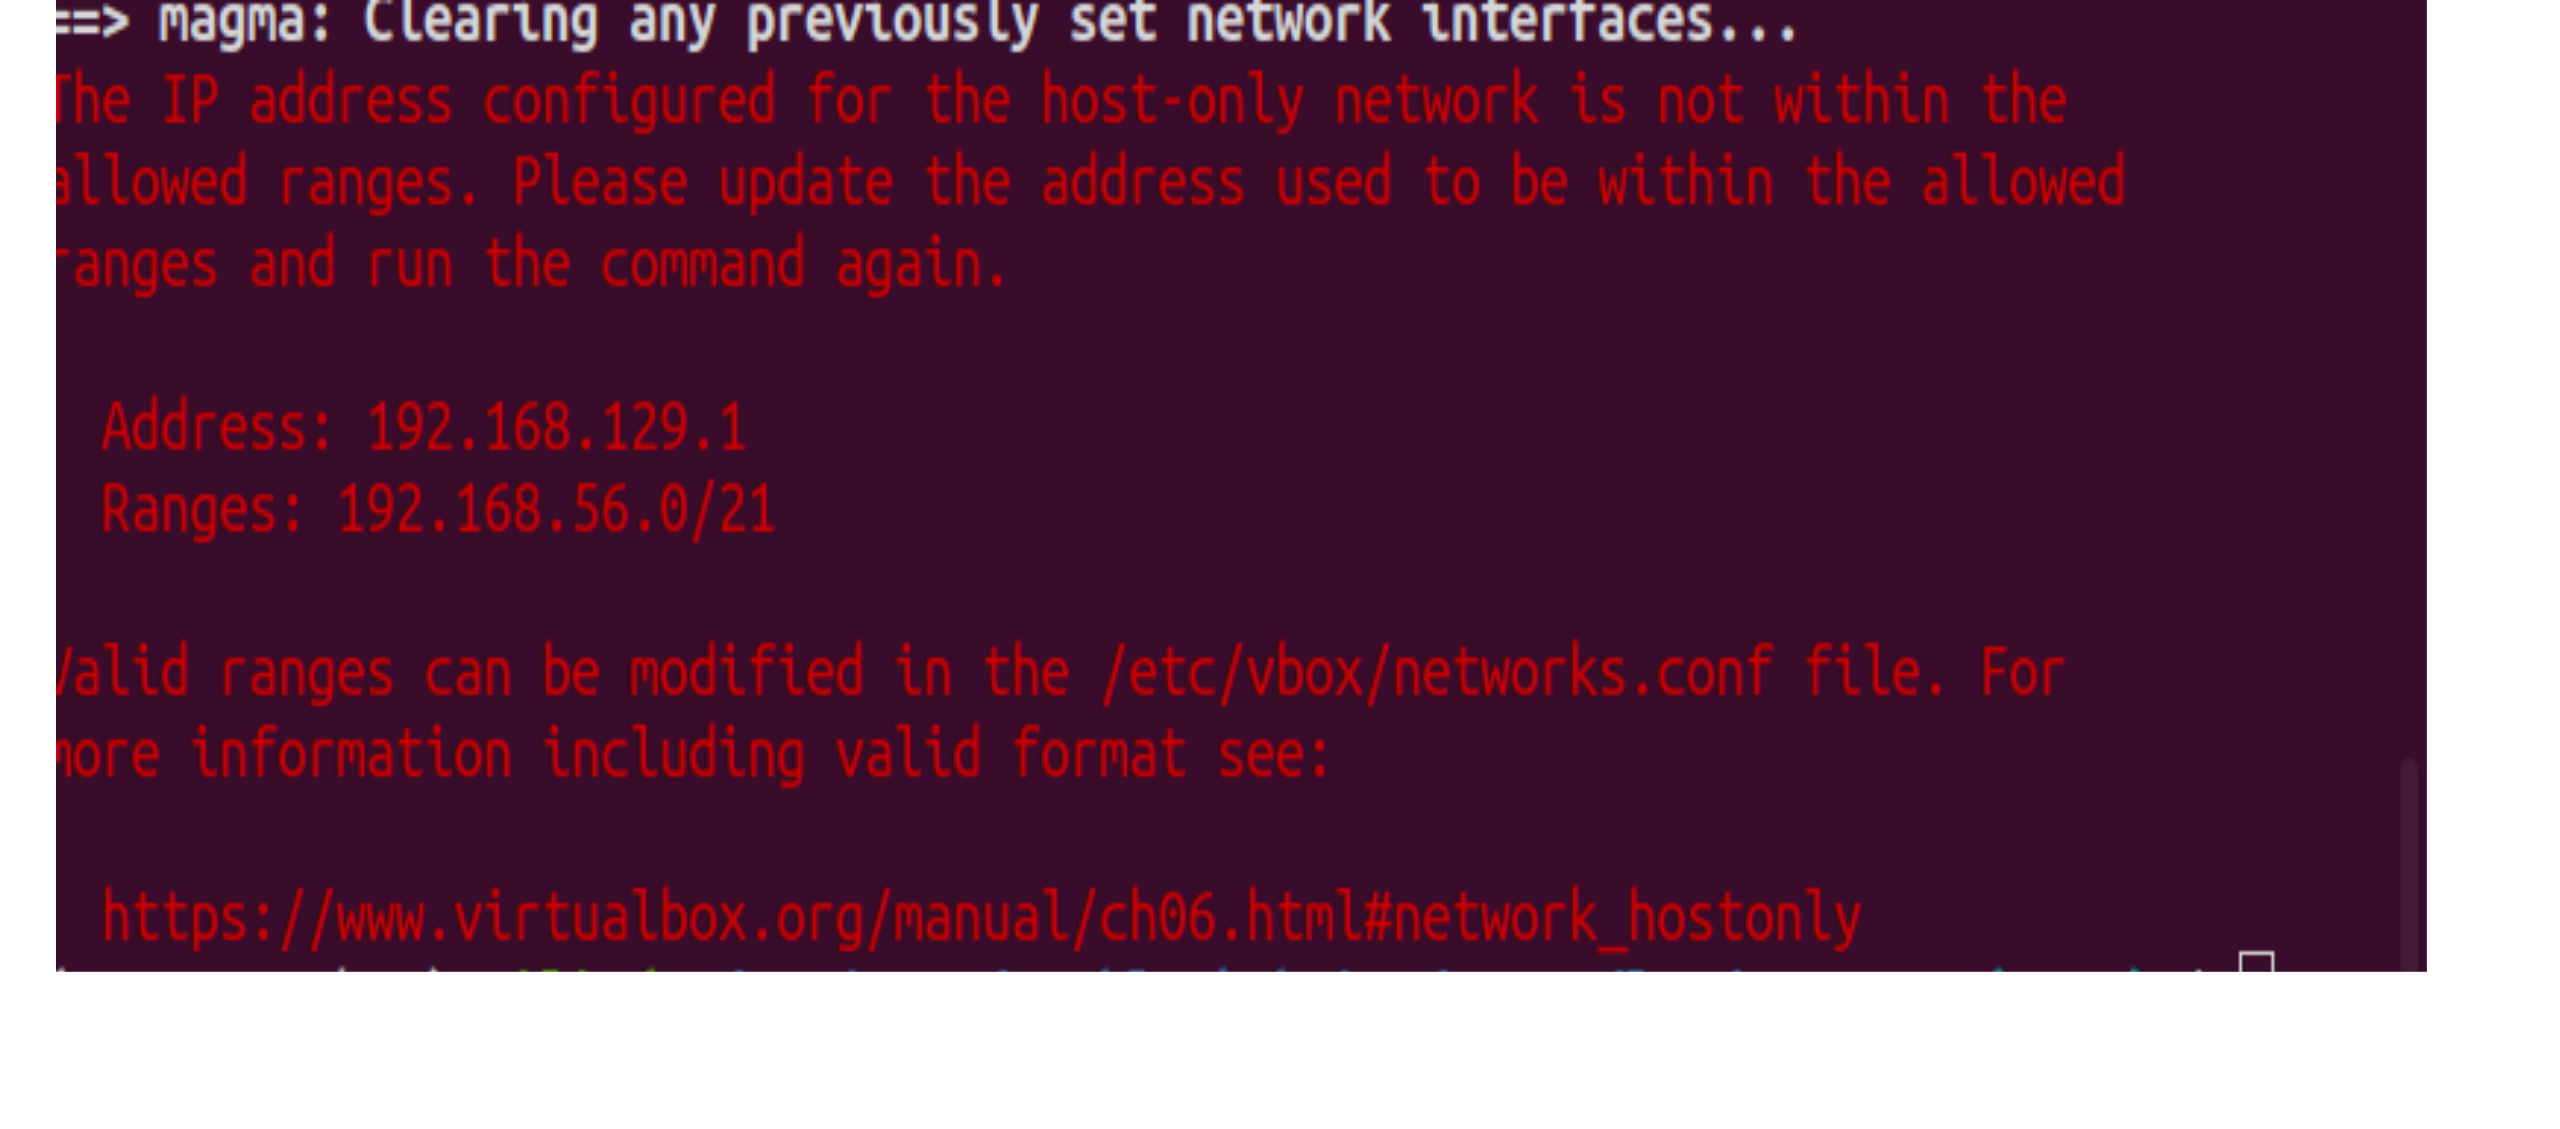
- Follow the instructions in the VirtualBox manual on Host-Only Networking and add
* 192.168.60.0/24 192.168.128.0/24 192.168.129.0/24
to /etc/vbox/networks.conf creating it in the process if necessary.
- Further, in order to set up the magma VM, virtualization needs to be enabled on the host system. If it is not, it will produce an error such as that below

To fix this, log in to your BIOS (the method to do this varies from host to host) and enable Virtualization Technology. You will likely find this in System Configuration or Security. If this option is not available, then virtualization is not possible on your machine and you will require an new one.
- Upon making these changes,
vagrant up magmashould finish with an output similar to that shown below. It is important that the number of failures be zero i.e failed = 0.
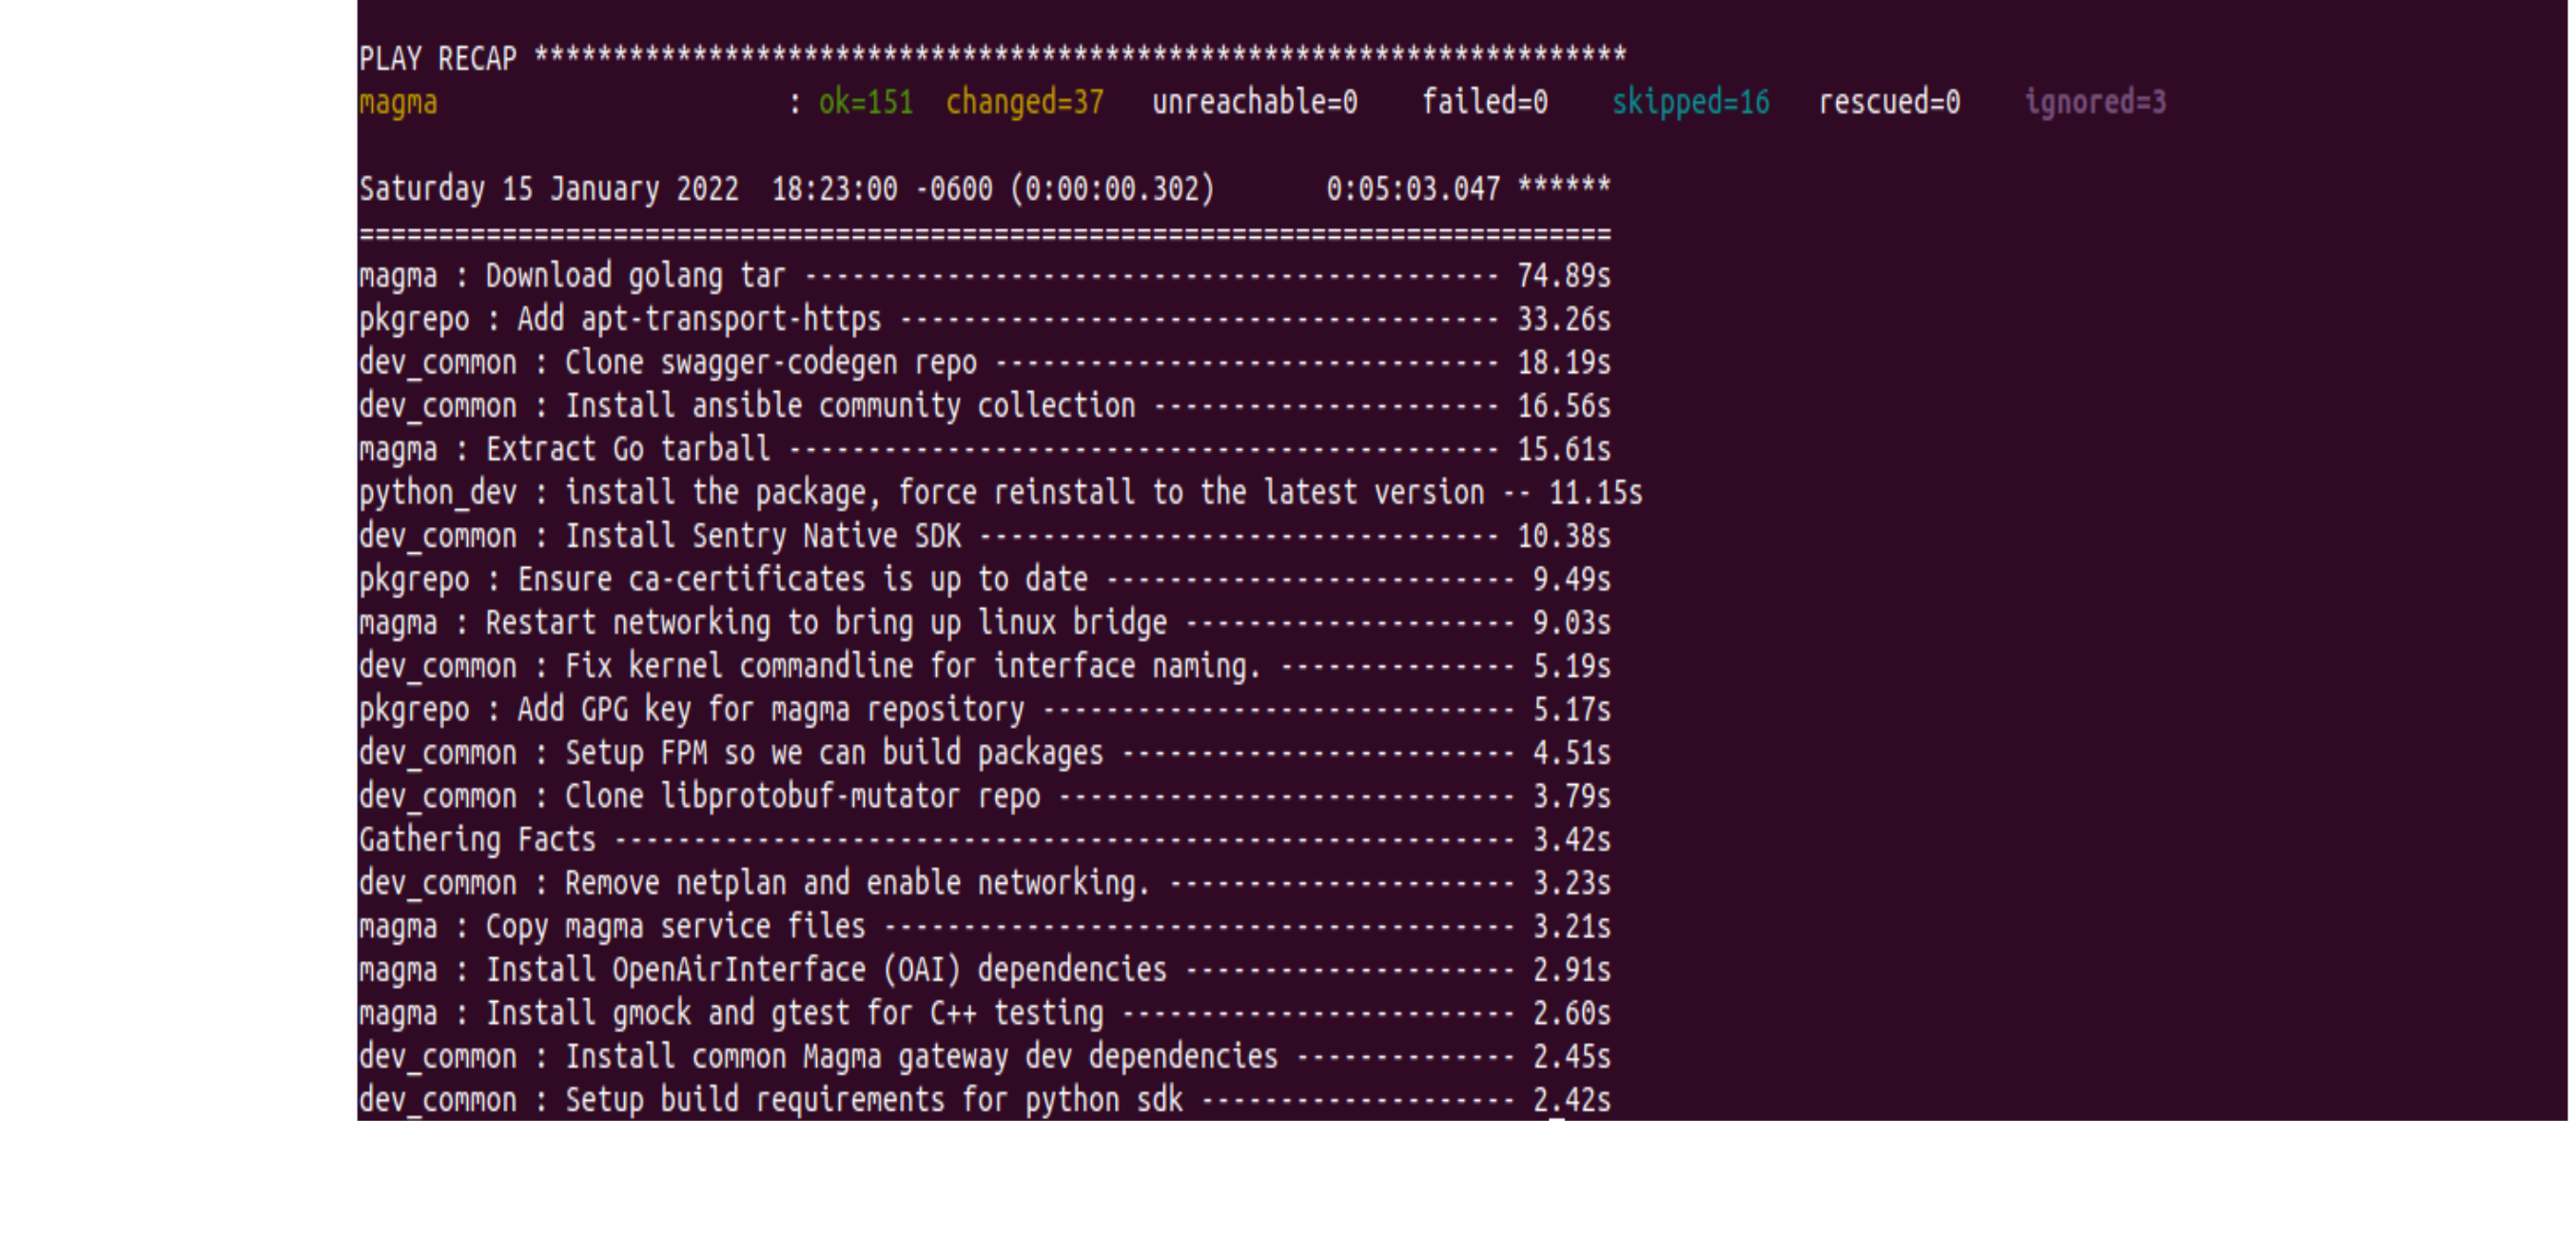
- The first time around, provisioning the AGW VM (the whole process from
vagrant up magma) took 34 minutes on the author’s host machine. - 192.168.60.0/24 192.168.128.0/24 192.168.129.0/24
- Now, follow the instructions in the guide to ssh into the VM and build the AGW.
- To set up the Orchestrator, once again follow the instructions in the Build Orchestrator section of the guide. This took around 29 minutes on the author’s machine.
- Start the Orchestrator as directed in the guide. If run with metrics, this should terminate with an output similar to that below
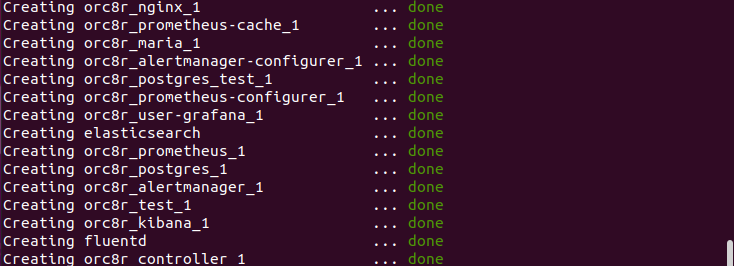
- Navigating to the
magma/cache/test_certsfolder (open usingnautilus/magma/cache/test_certs) and double clicking on theadmin_operator.pfxand supplying the password “magma” produces the following dialog box
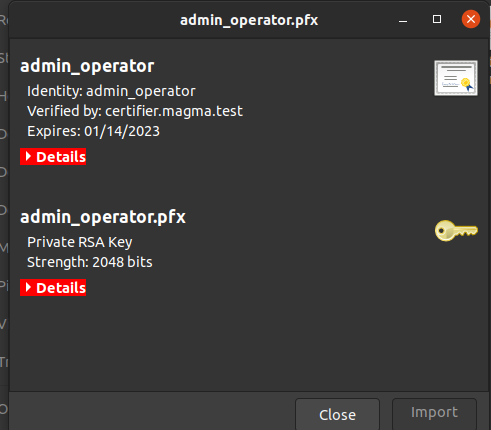
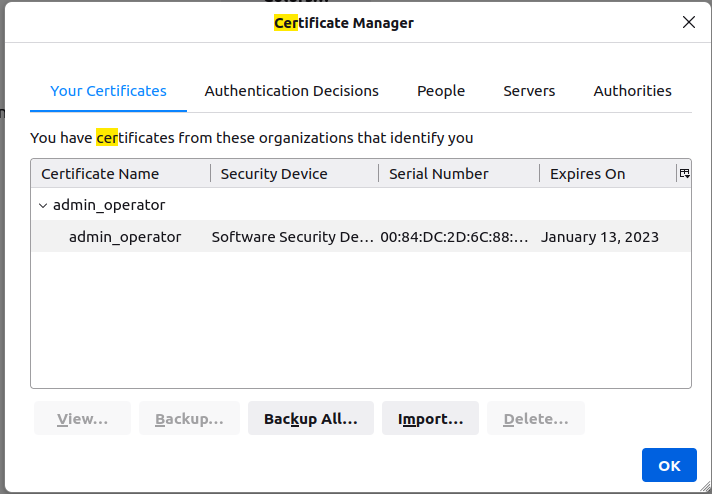
Add the certificate to Firefox by navigating to Preferences and looking for “View certificates” and adding the .pfx file to the “Your certificates” tab of Certificate manager. As this has to be imported from the sytem and .cache is a hidden folder, transfer the .pfx file to a visible directory outside the repository and import it from there. This results in the following dialog box
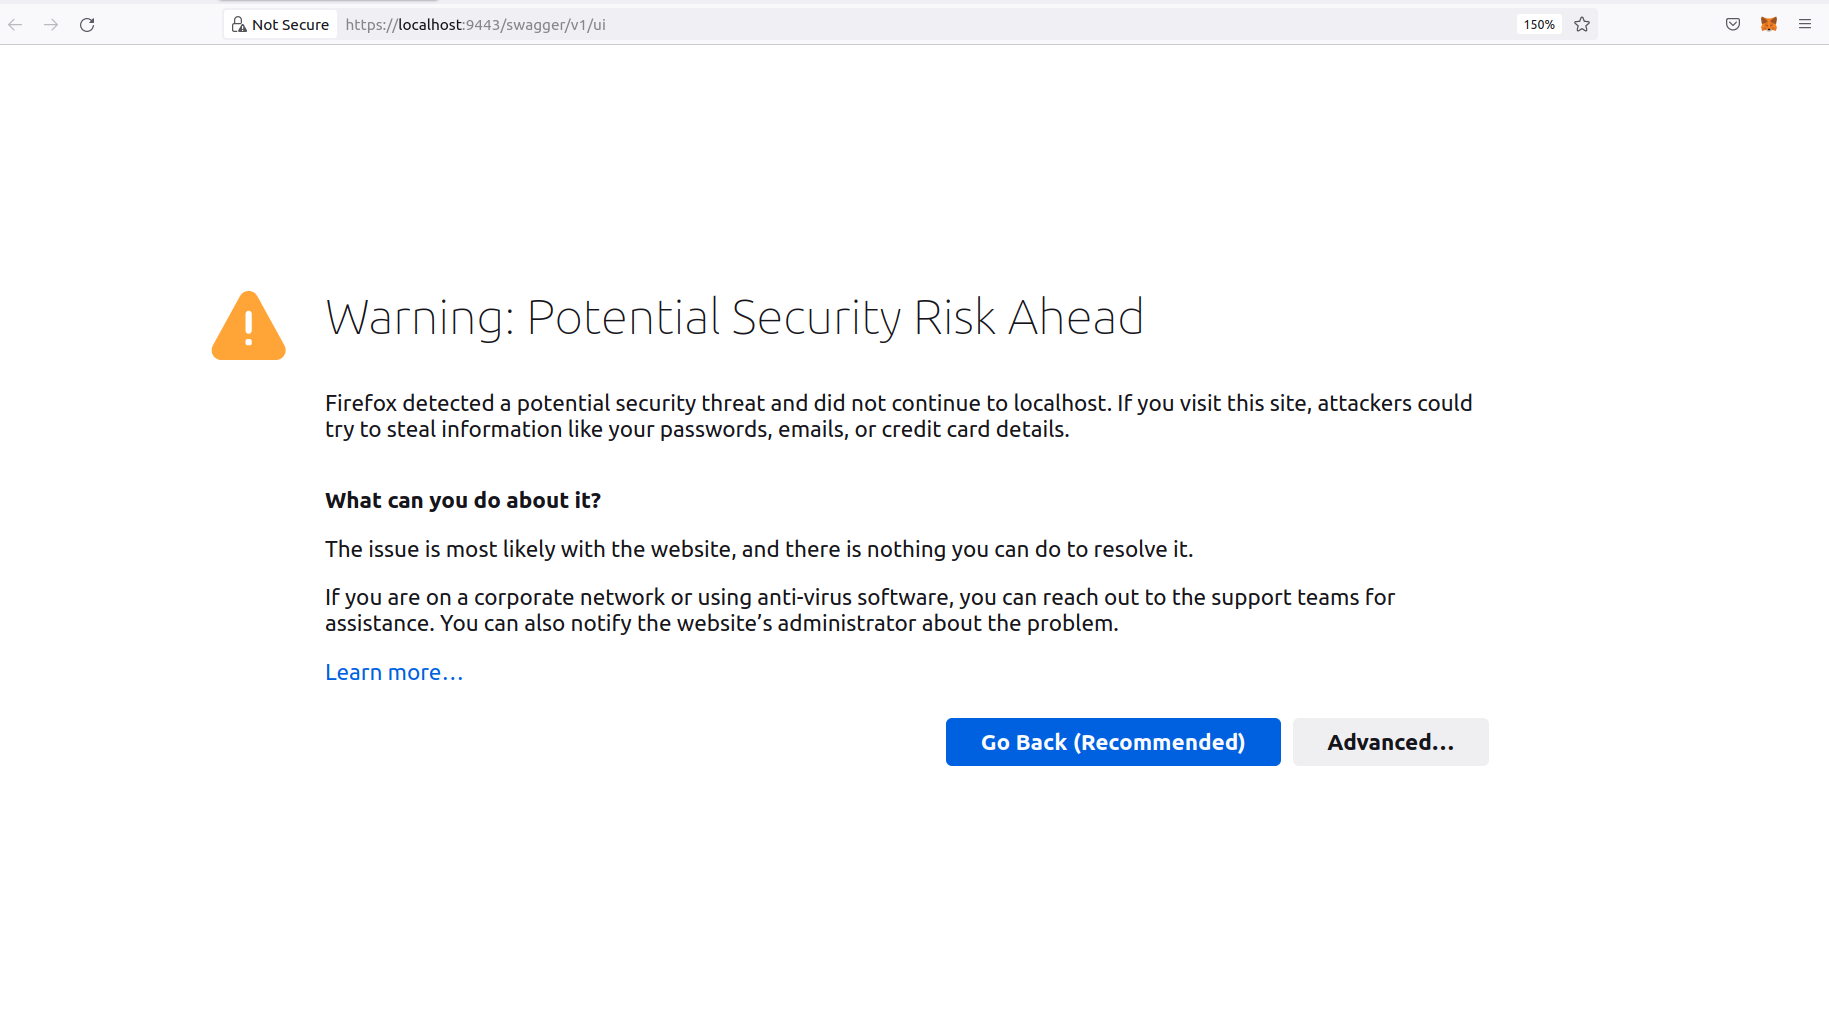
Upon opening https://localhost:9443/swagger/v1/ui in Firefox, you will see the following warning (as mentioned in the guide)
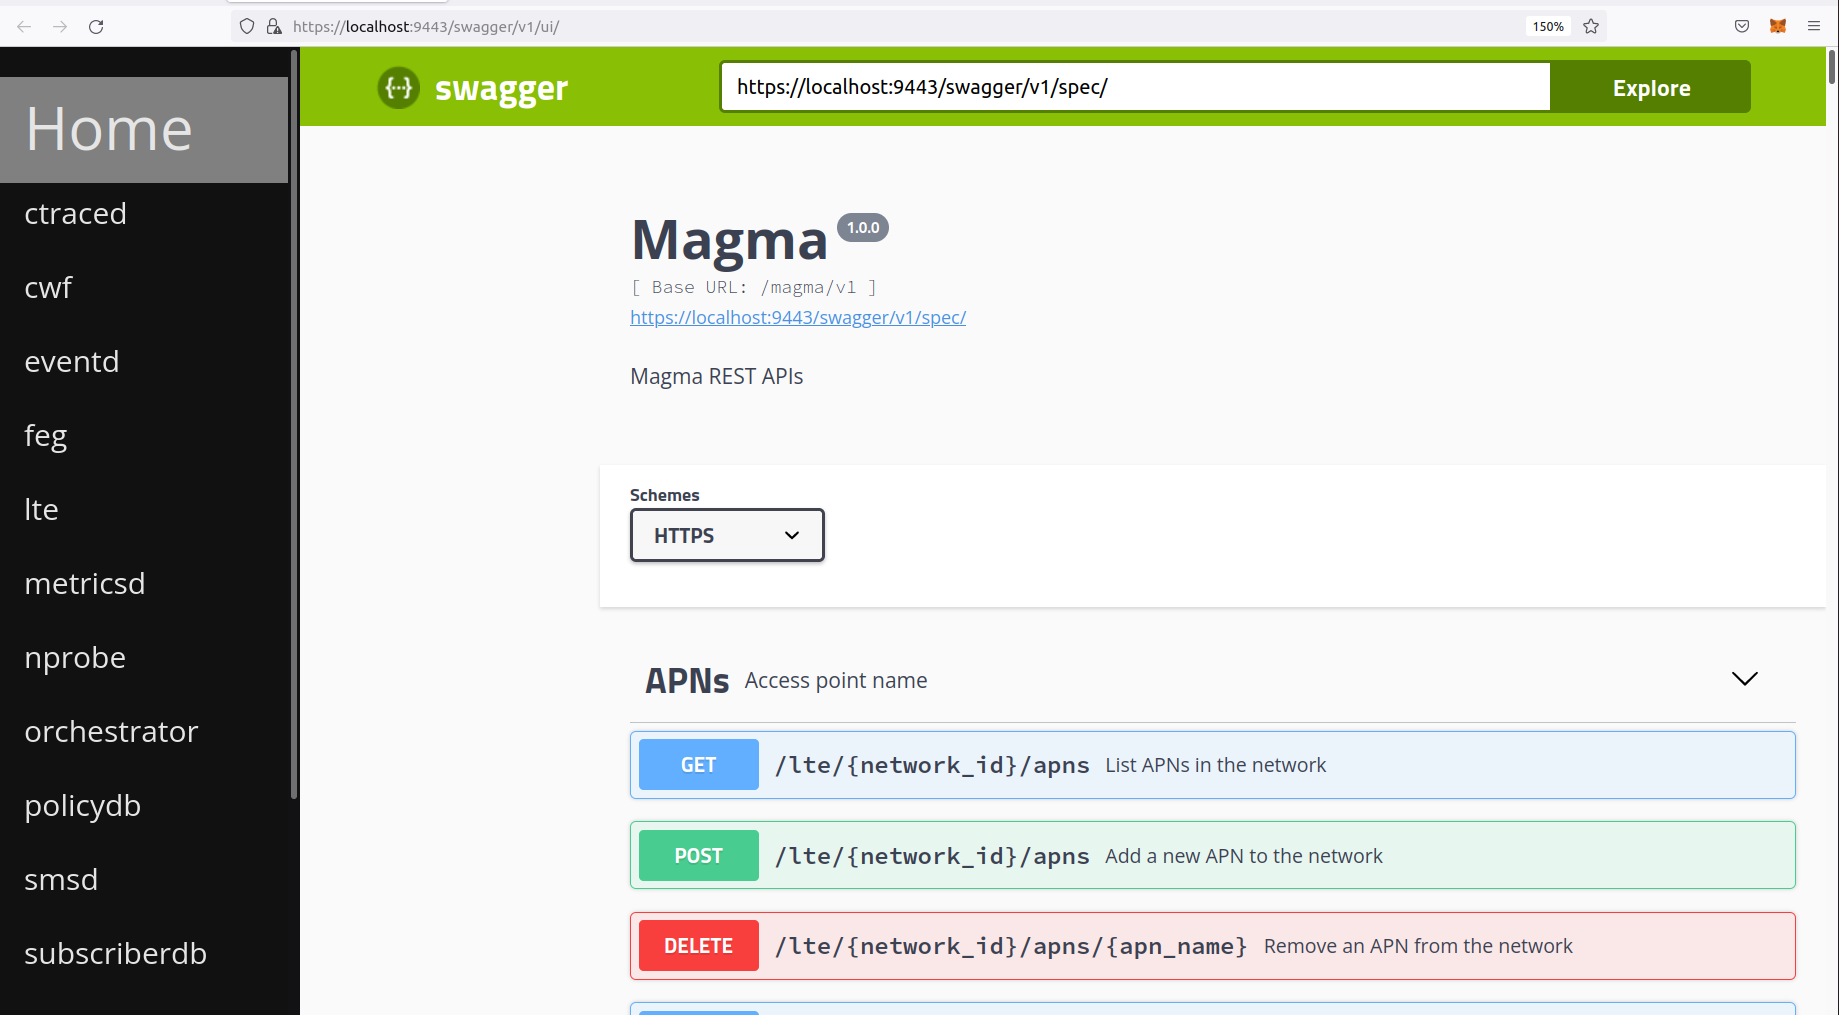
Click on Advanced and then choose to continue. This will open the following
- Attempting to connect the Orc8r and LTE Gateway using
fab -f dev_tools.py register_vm
might produce an error such as the one below
.
.
.
PermissionError: [Errno 13] Permission denied:
'./../../.cache/test_certs/admin_operator.key.pem'
.
.
.
- Run the following command (from the magma directory) to provide the necessary permissions (refer to this Stack Overflow post on permissions for more details).
sudo chown -R $USER .cache/test_certs/
- Start the magmad service as directed in the guide. Note that you might see errors relating to
td-agent-bit. These are to be expected as the Quick Start Guide doesn’t enable this service. Refer to this issue about FluentBit for more details. - Finally run the NMS UI as directed in the guide. Note that if the Gateway Error 502 persists, check the status of the
magmaltedocker container using
docker container ls
and kill it if it is unhealthy using
docker kill <container_id>
and set up the NMS UI again.
- If your Orchestrator (Orc8r) and AGW are connected and the magma services are running on the AGW, then the health of the gateway in the NMS UI (navigate to the Equipment tab on the left of the NMS UI and scroll down to Gateways) should read Good. This health status is based on how often the gateway checks in. Look at this comment on the gateway health.
- The Orc8r can be shut down using
docker-compose down. If this fails, try
HOST [magma/orc8r/cloud/docker]$ ./run.py
and then docker-compose down.
If you would like to learn more about the project and get involved check the website for more information or download the code and start to experiment with the platform.